Skip to content
All tutorials

Tutorial

Create your first schedule

Create the first draft schedule window and move into the real schedule lifecycle.

Audience: Managers preparing the first reviewable schedule draft

Last reviewed: April 14, 2026

Before you start

  • People and positions already configured
  • Permission to create schedules

Once the workforce model is in place, the next step is to create the first draft schedule window and move the workspace into a usable planning cycle.

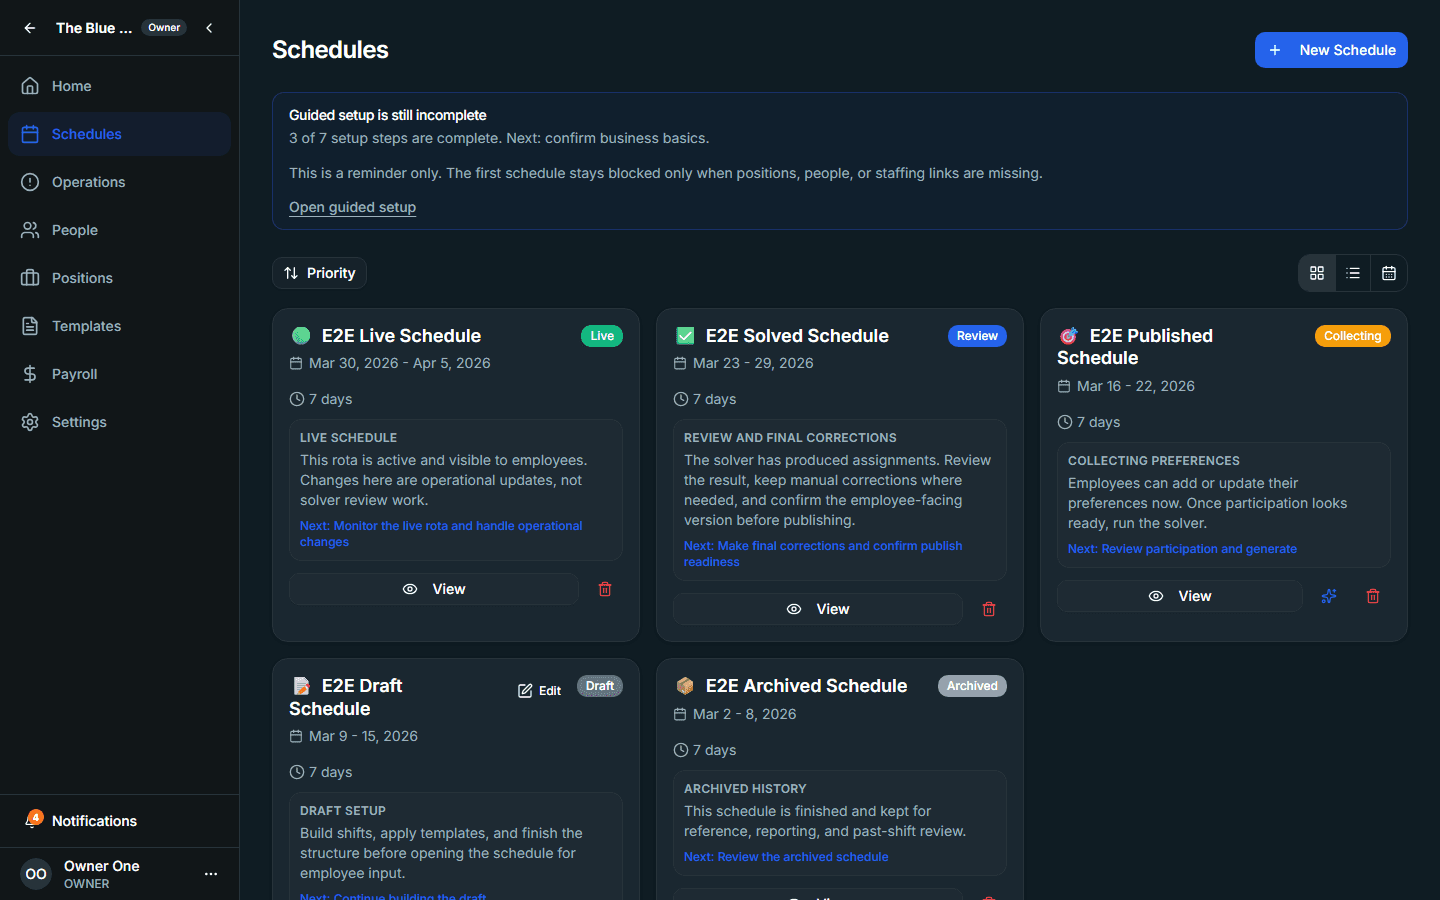
1. Open Schedules and review existing drafts

Use the Schedules page to see whether the workspace already has historical or active drafts. If you are starting from scratch, this page becomes your entry point for the first schedule window.

Schedules page showing schedule list and creation actions.
The schedule list is the manager entry point for draft creation and review.

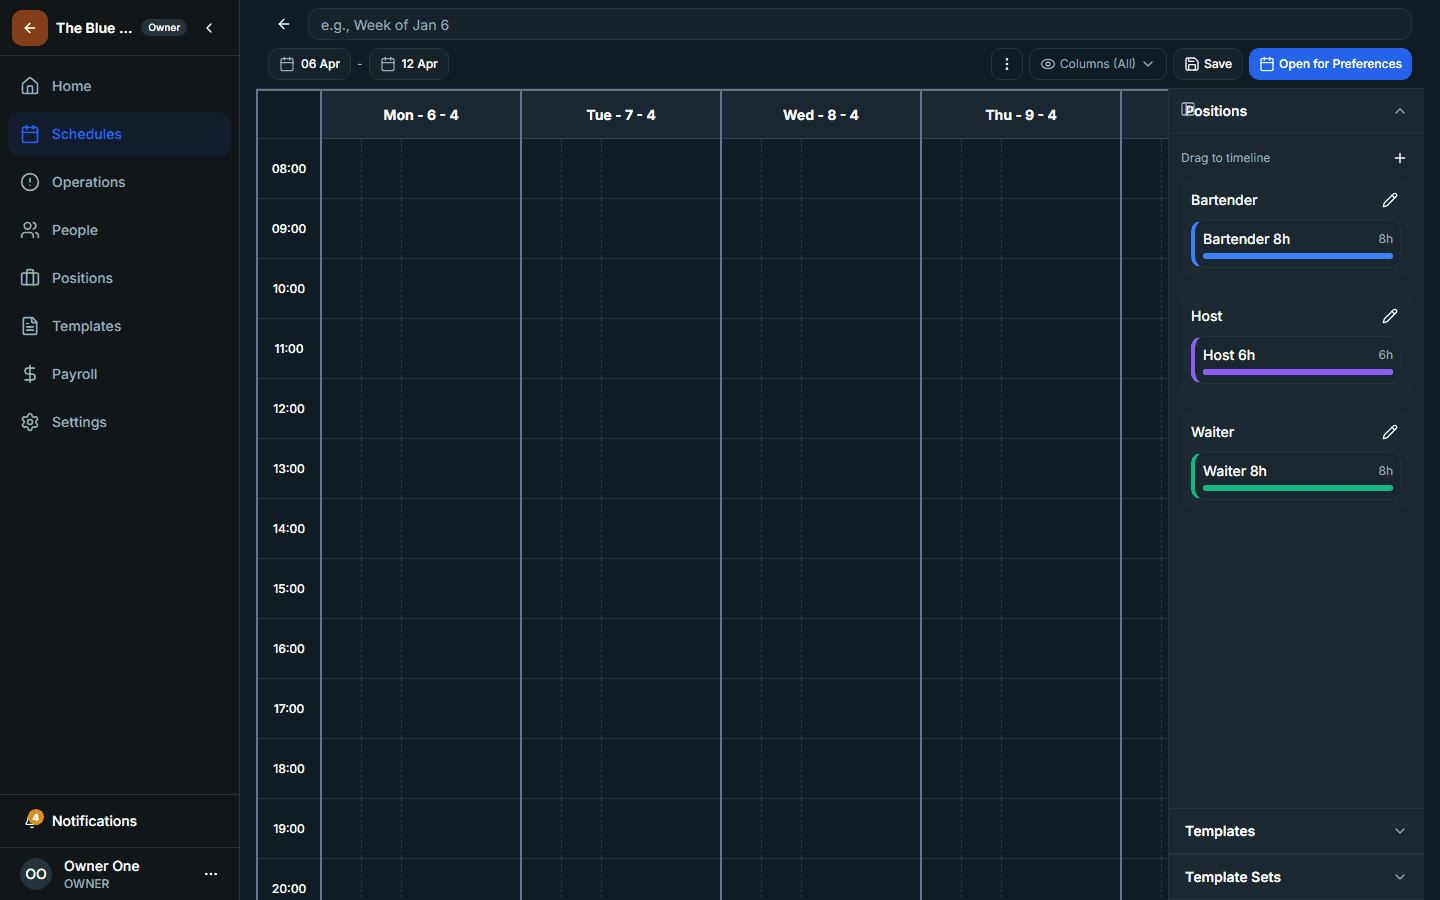
2. Create the draft schedule window

  1. Choose the correct date range
  2. Set the draft basics for the schedule you are about to review
  3. Save the schedule so it becomes available in the list
Create schedule form or builder entry screen.
Create the schedule window before you move into preference collection and review.

3. Use the draft as the working object for the next lifecycle steps

After the draft exists, Intermio's lifecycle controls can guide the next actions: preference collection, solve review, and the final publication decision.

Schedule review or detail page after a draft has been created.
The draft schedule becomes the hub for the rest of the lifecycle.

Where you'll use this in the app

  • Schedules
  • Create schedule

Privacy choices

Choose whether Intermio may load optional analytics and performance telemetry

Necessary product operations and Intermio's minimal Sentry monitoring stay on. GA4, Vercel Analytics, and Vercel Speed Insights stay off until you allow them.